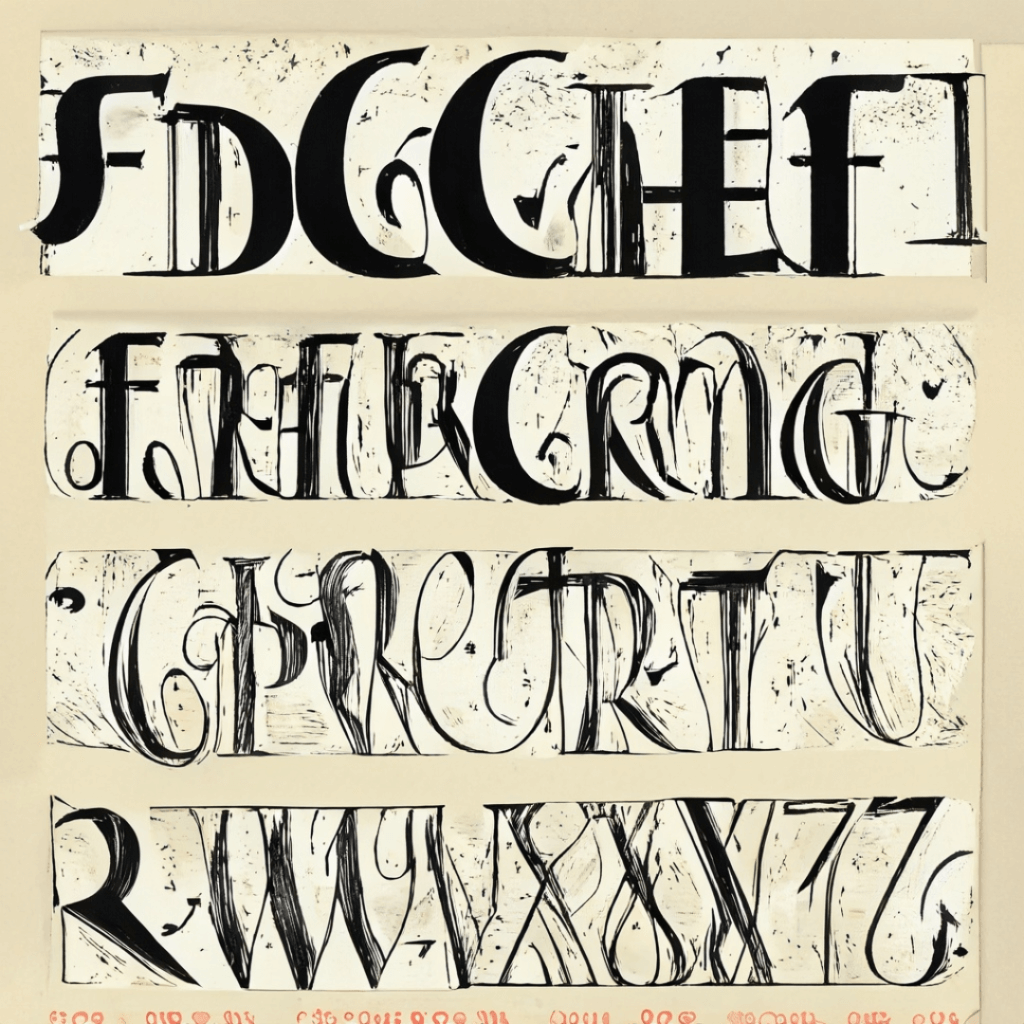
Creating a font from scratch can be a rewarding and creative process.

It can also seem daunting and overwhelming, especially if you’re new to the world of typography.
In this article, we’ll guide you through the process of creating a font from scratch, step by step.
Step 1: Determine Your Goals and Constraints
Before you begin designing your font, it’s important to determine your goals and constraints. What do you want your font to achieve? Who is your target audience? Will your font be used for print or digital media, or both? These questions will help you determine the size, weight, and style of your font.
You’ll also need to consider technical constraints. For example, if you plan to use your font for digital media, you’ll need to ensure that it is compatible with common file formats like TrueType and OpenType.
Step 2: Choose a Design Software
There are many design software options available for creating fonts. Some of the most popular include FontLab, Glyphs, and Adobe Illustrator. Each software has its own advantages and learning curve, so choose one that works best for you.
Step 3: Sketch Your Design
Before you begin designing your font digitally, it’s important to sketch out your ideas on paper. This allows you to experiment with different styles and layouts without the constraints of a computer screen.
Start by sketching out each letter of the alphabet in upper and lowercase, as well as any additional characters you plan to include, such as punctuation and numbers. Focus on the overall style and shape of each letter, rather than the details.
Step 4: Begin Designing Digitally
Once you’ve sketched out your design, it’s time to start designing digitally. Begin by selecting a grid system to use as the basis for your design. A grid system helps ensure consistency in the size and spacing of each letter.
Start by creating the basic shapes of each letter using the pen tool. This involves creating vector paths that outline the shapes of the letters. Once you’ve created the basic shapes, you can begin refining the details, such as serifs or rounded edges.
Step 5: Refine Your Design
Once you’ve created the basic shapes of each letter, it’s time to refine your design. This involves adjusting the weight and size of each letter, as well as the spacing between letters.
It’s important to pay attention to the overall balance of your font. This involves ensuring that each letter has a consistent weight and spacing and that the overall design feels cohesive.
Step 6: Test Your Font
Once you’ve refined your design, it’s important to test your font in a variety of contexts. This includes testing it at different sizes and weights, as well as on different backgrounds and in different file formats.
Make any necessary adjustments based on your testing. For example, you may need to adjust the spacing between certain letters to improve readability at smaller sizes.
Step 7: Finalize Your Font
Once you’re happy with your font, it’s time to finalize it. This involves creating a font file that can be installed and used in other applications.
You’ll need to export your font in the appropriate file format, such as TrueType or OpenType. You’ll also need to include metadata such as the font name, designer name, and copyright information.
Step 8: Share Your Font
Finally, it’s time to share your font with the world. You can distribute your font on your own website, or use a font marketplace like MyFonts or FontShop to sell your font to a wider audience.
It’s important to ensure that your font is properly licensed and that you are clear about the terms of use. This helps protect your font from unauthorized use and ensures that you receive proper compensation for your hard work.
Conclusion
Creating a font from scratch is much simpler if you make divide the project into manageable steps. Having in mind this step, create your own font today.


